Search for answers or browse our knowledge base.

Discontinued
A4 mono MFP series.
Models covered:
- ECOSYS M2040dn
- ECOSYS M2135dn
- ECOSYS M2540dn
- ECOSYS M2635dn
Prints have dots, streaks or spots
If print quality is reduced, we recommend the following cleaning steps:
Please first switch the device off and then on again using the main switch.
1. Corona Wire Cleaning :
- First open the front flap and the top flap. Then unlock the developer unit by pressing the blue lever marked "A".
You can then remove the toner cartridge together with the developer unit from the device. - Now remove the drum unit behind it by pulling on the blue handles marked "B".
The blue cleaning slider is located on the drum unit. Please slide this back and forth across the entire width at least 10 times.
Make sure that the cleaning slider is firmly locked in its position on the far right before inserting the units back into the device in reverse order.
2. Drum cleaning (perform up to 3 times if necessary):
-> System menu/Counter >
Settings/Maintenance >
Service settings >
Drum refresh
press OK and confirm with YES on the display
The print image repeats itself — I have a kind of ghost image
When printing on thicker media types/paper, the media type settings may need to be adjusted to ensure the toner is properly fixed.
The setting is made both in the device and in the print dialog of the application.
Media Type Settings Device:
System Menu/Counter button >
Cassette/MP Tray Settings >
Cassette (No.) > Media Type
The media type setting must now be identical to the device setting in the driver or print dialog.
Pale prints
If print quality is reduced, we recommend the following cleaning steps:
Please first switch the device off and then on again using the main switch.
1. Corona Wire Cleaning :
- First open the front flap and the top flap. Then unlock the developer unit by pressing the blue lever marked "A".
You can then remove the toner cartridge together with the developer unit from the device. - Now remove the drum unit behind it by pulling on the blue handles marked "B".
The blue cleaning slider is located on the drum unit. Please slide this back and forth across the entire width at least 10 times.
Make sure that the cleaning slider is firmly locked in its position on the far right before inserting the units back into the device in reverse order.
2. Drum cleaning (perform up to 3 times if necessary):
-> System menu/Counter
- Settings/Maintenance
- Drum -
Press OK and confirm with YES on the display.
3. Developer refresh:
-> System menu/Counter
- Settings/Maintenance
- Service
- User and password 4000 and confirm with OK
- Developer -
press OK and confirm with YES on the display.
Clear paper jams
If a paper jam occurs, “Paper Jam” is displayed and the machine stops.
Follow the instructions below to clear the paper jam.
If the problem persists, please provide us with a detailed description of the error. In order to resolve your issue as quickly as possible, please also provide us with the following information:
Status page :
System menu/counter
– list print – print
report –
status page –
press and confirm with YES on the display
Service status page :
– System menu/counter
– Settings –
Maintenance –
Service settings –
Service status –
Press OK and confirm with YES on the display
General information and notes:
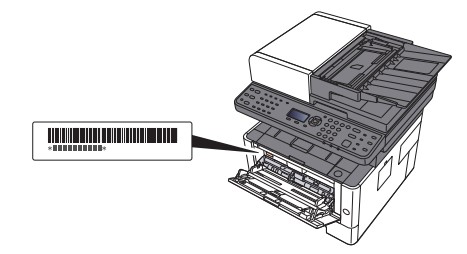
Checking the device serial number:
The serial number of the device can be found in the following location, as shown in the figure.
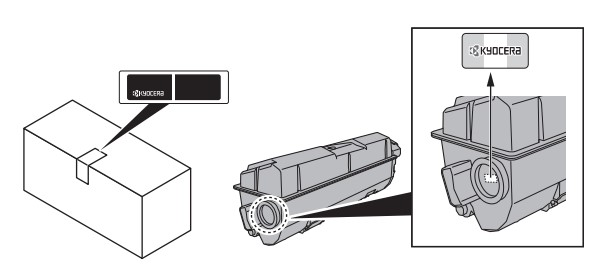
Original Toner
To ensure long-lasting quality, we recommend using only original Kyocera toner containers, as these have to pass numerous quality tests.
If non-original toner is used, this can lead to malfunctions.
We accept no liability for damage caused by using consumables from other suppliers.
Our replacement toner containers are provided with a special sticker as shown below and are therefore recognizable as original consumables.
Request KYOCERA support
To request Kyocera support, please click on the button below to access our service centre.